Switching to iPhone without giving up your second number
Welcome to the iPhone. If you're switching from Android, there's a good chance you're not leaving everything behind: maybe your old phone had two SIMs, maybe it carries a work number, maybe you simply want to keep the old number alive for a while.
Here's how to switch cleanly and still use that second number from your new iPhone.
Step 1: Move your data with Move to iOS
During the iPhone's setup, choose Move Data from Android and install Move to iOS on the Android phone. It copies contacts, message history, photos, calendars and more.
- Keep both phones on Wi-Fi and on chargers.
- Don't use the Android phone while it's copying; an incoming call can interrupt the transfer.
Step 2: Decide where each SIM goes
- Your main number goes into the iPhone (physical SIM or eSIM).
- The second number can stay in the Android phone.
Don't factory-reset the Android phone yet. It has a new job.
Step 3: Turn the old phone into the phone in your bag
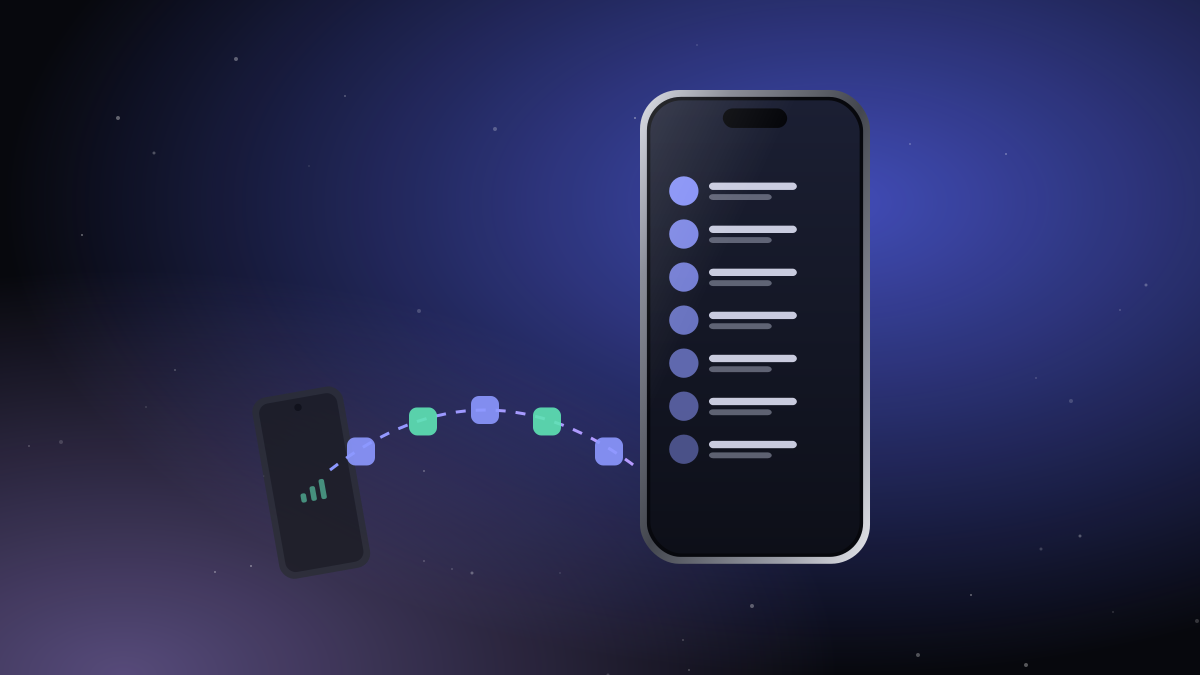
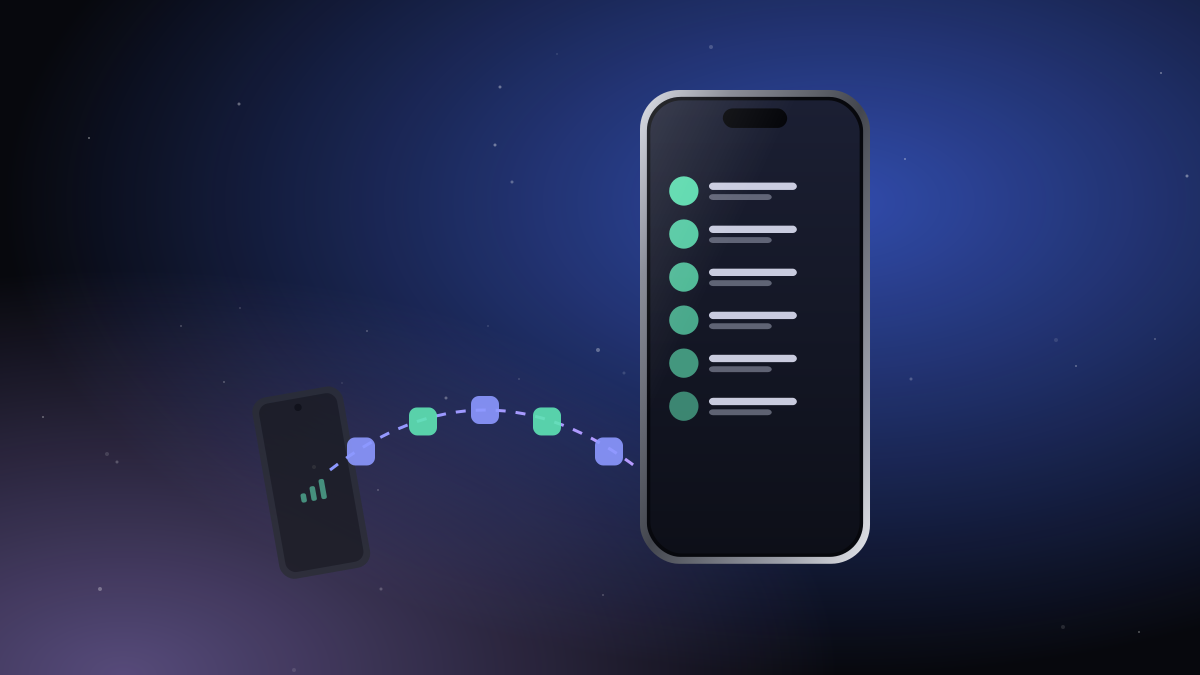
Install iTell on the Android phone and on the iPhone, sign in with the same account and pair them with the QR code. From now on:
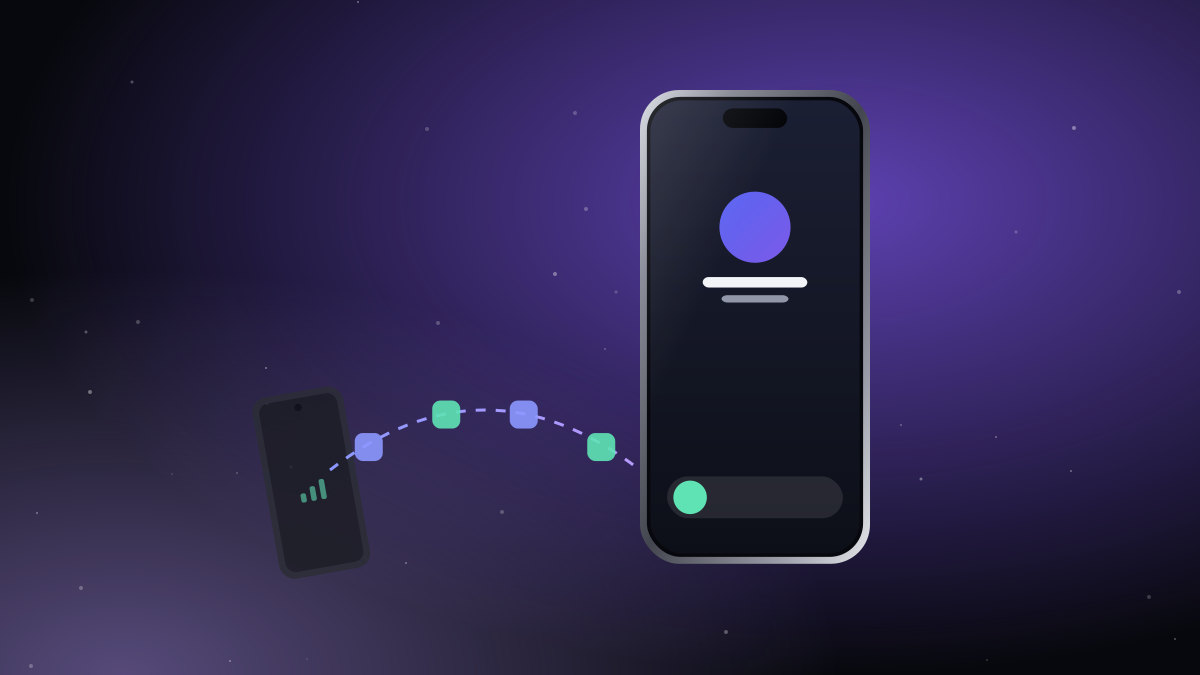
- calls to the second number ring on your iPhone,
- you can call out from the second number on the iPhone,
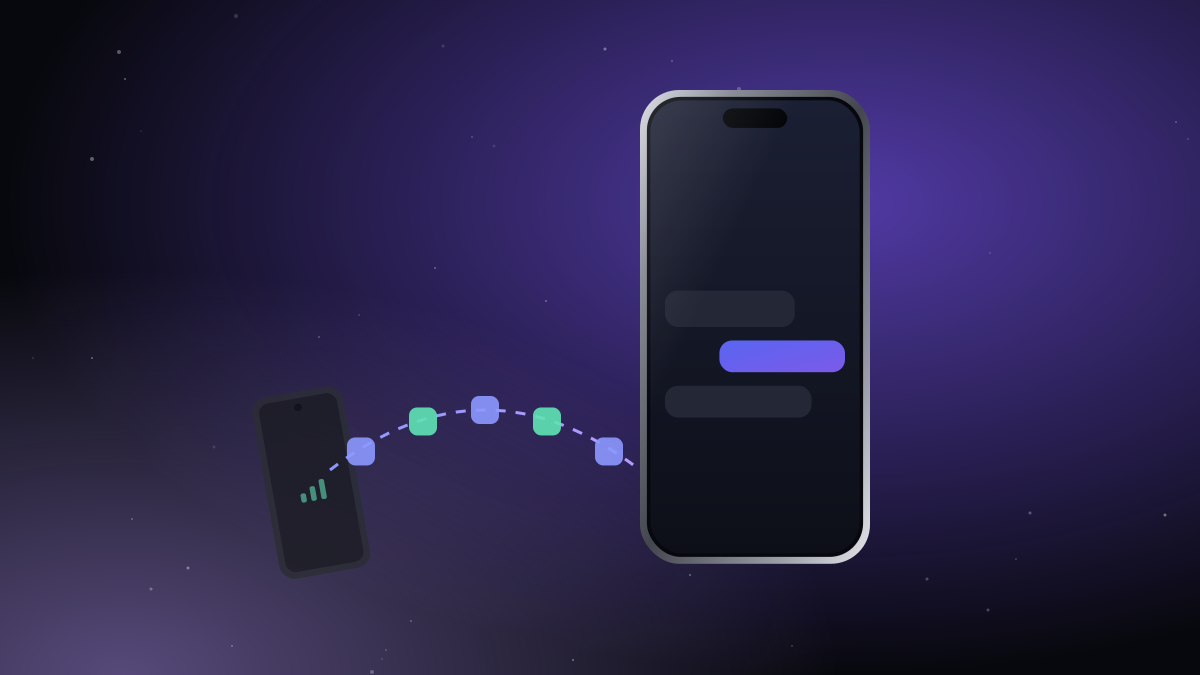
- its texts and one-time codes arrive on the iPhone,
- its contacts and call history show up there too.
The old phone needs Android 13 or later. If it's older, you can still move your data with Move to iOS, but it can't act as the bag phone.
Step 4: Give the old phone a comfortable life
- Keep it charged: overnight is enough for most people.
- Keep it within Bluetooth range: in your bag or on your desk.
- Turn off battery optimisation for iTell so it's never put to sleep.
- Mute its ringer; your iPhone will do the ringing.
Later: retire the second number gracefully
When you're ready to drop the old number, unpair the phones in iTell, free the Android seat in your account and remove the SIM. Your contacts are already on the iPhone thanks to Move to iOS.

Create an account, install both apps, pair them once. That's the whole setup.
See how it works Get started